Question: How do I put a picture on my web page? - Picture with text above or below
Answer:
You can put pictures (photos, clipart, or other graphics) within a rich text section anywhere on your web page.
Before uploading a large photo, it's best to resize it, because otherwise it will load slowly when people view the page. Choose a width of 700 pixels or less for a one-column page. Choose a width of 400 or less for a multi-column page. To resize an image on a PC you can use the Paint utility. On a Mac you can use the Preview utility. See What size should an image be?
| Step | Instructions | Example or Picture | Notes |
|---|---|---|---|
| 1 | Upload the picture to one of your albums. See How do I upload a picture to an album? | ||
| 2 | Add or edit a rich text element. |  |
|
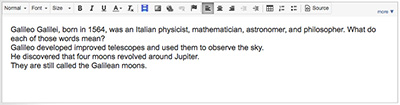
| 3 | Type the text that will go above or below the picture. See How do I edit the text on one of my web pages? |
 |
|
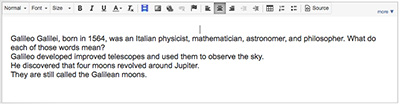
| 4 | Insert a blank line where you want the picture to be inserted (a line above the text, a line below the text, or a line between paragraphs). Leave the focus (insertion bar) on this line. Usually you'll want the picture to be centered left-right, so click the Center icon in the toolbar. |
 |
|
| 5 | Click the picture icon in the toolbar. | ||
| 6 | You will see the Select an Album page. Click the album that contains the picture you uploaded, e.g., Clipart, Photos, or another album you've created. | 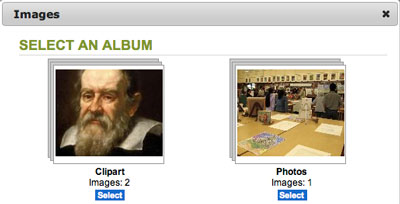 |
If you change your mind, click the x in the top right corner. |
| 7 | You will see the pictures in the album you selected. Click the one you want. | 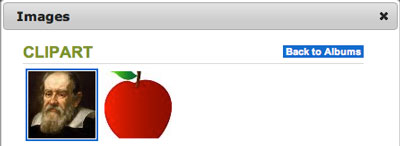 |
If you change your mind, click the x in the top right corner. |
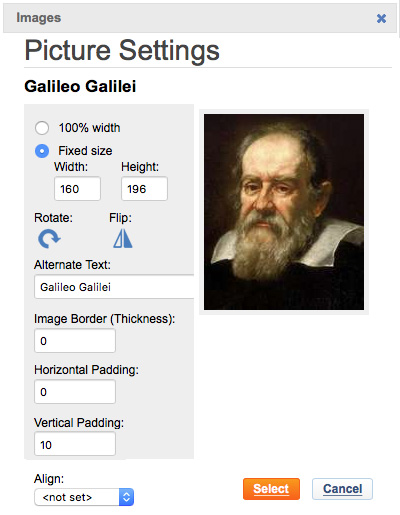
| 8 | You will see the picture you selected and some picture settings. Click Fixed size to see the image's width and height. If the width is bigger than what should be displayed, use either of the two ways to make it smaller:
Since there's text above and/or below the picture, set the Vertical Padding to 10. Set the Align drop-down box to <not set>. |
 |
If you change your mind, click the x in the top right corner. |
| 9 | Click the Select or Update button. The picture will appear in your rich text element. School Loop leaves a blank line below the picture, so tap delete on your keyboard to remove it. |
 |
|
| 10 | If the appearance is wrong (picture too small, too big, wrong position, etc.), right-click the picture, choose Edit, and change the settings. | Another choice is to click the picture so it highlights, press the delete key, and start over at Step 3. | |
| 11 | Click the Save & Exit button. |  |
|
| 12 | The text and picture will appear on your web page. | |
If you change your mind about having the rich text section, click the trash can icon. |
| 13 | To make the text and picture visible to site visitors, click the Publish button at the top of the page. |  |
If you change your mind you can click Cancel to discard all change you've made to this web page. |